Pages

Welcome to my Amateur Food Blog

Welcome to my Amateur Food Blog

Thursday, December 2, 2010

Gyudon (Beef Teriyaki Rice)

I am not updating my blog page as I ought to. Procrastinating act from me! As mentioned in the previous post, the teriyaki sauce that I learnt to make from the Manga University Cook Show, can be used to make a nice bowl of gyudon.

I followed the steps as taught on Cooking with the Dog.

The portion is for about 1 to 2 persons.

Ingredients:

1) 100 grams of beef cube, slice thinly (use more if you prefer a higher protein diet).
2) 1/2 cup of home-made teriyaki sauce
3) One medium size yellow onion (cut to thin slices)
4) 1/2 tsp of sugar
5) 1/2 tsp of chicken granulated stock
6) 1/2 tsp of grated ginger
7) 2 par-boiled eggs
8) chopped spring onions.
9) 1/2 cup of water

It's easier to slice the frozen beef when it has thawed to a stage where it's still hard but relatively easy to cut thru.

I think this is a very easy to cook meal, sweet and delicious. The teriyaki sauce can be made before hand and stored in a container to keep in the fridge. With the use of one sauce, it allows you to come out with a variety of dishes.

Our delicious dinner

Monday, November 15, 2010

BBQing Yakitori

Booked a BBQ pit at ECP last friday to carry out a super pungent task. I am not referring to the Yakitori. The Yakitori definitely tasted good and was the one of the two main dishes of the night, but the main objective there was to toast my belacan bought by my friends who recently went to Penang.

I attended a culinary class recently, and the chef (Chef Low) mentioned this brand to be the best in his opinion. He said it's good to toast belacan and mill it into powder form for easier storage and ease of use. But he advised us to do it outdoor as the pungent smell will stink the entire house.  Luckily, I took his advice. It was really smelly when we toasted it, but after awhile, I began to like the toasted belacan, the smell was really good. I think it going to be very convenient to make some rojak now.


So I managed to find an online cooking video on making Yakitori and preparing your own Teriyaki sauce. My wife and our friends had a awesome time feeding on the Yakitori, chicken wings and fruit-based Salsa. 

A mistake putting the Yakitori on a tray to BBQ. Took forever to cook. My toasted belacan at the background.


Expensive but fresh  mid-section from Meidi-Ya

Fruit-salsa

Yakitori with the flavourful leek!

My version of Ice Cold Beer.

The teriyaki sauce can be used to make Gyudon (Japanese Beef Bowl Rice). It's quite easy to cook, making it a fast simple home cooked meal. I must find time to post my other cooking experiments. A lot of backlogs piling up. Haha. 

Hokkaido Milk Toast

After reading the blogs of many bread enthusiasts, I decided to try my luck to look for "bread bibles" at Pageone at Vivo City  3 weeks ago. I was looking for  65C烫种面包 by Yvonne C. and 孟老师的道面包.  

I was lucky to find copies of it, as based on what was said on the web, it was difficult to find in Singapore. These two books really contained a lot of information that is really useful to novice.

I decided to make Hokkaido Milk Toast. I managed to achieve all stages exactly as what was written in the book until the final proofing stage. My bread turned out to be a bit dense and that was not how Hokkaido Milk Toast should be. It ought to be fluffy and soft. However the taste was really good albeit the poor texture. I went back to the book and re-examined the recipe again and again! Alas, I finally found out what went wrong. My comprehension of CHINESE! During the final proofing, it states: 八分满. I interpreted it as 8 minutes for final proof, which I thought it was a little short. How silly!

The recipe for this can be found here.
Dry ingredients


汤种
Kneading in progress

  
Ready for 1st proof


Adequate proofing as the finger indent remained in place.
                                                    
Relaxing the dough before shaping(15 mins)

Shaping

Roll to about 30 cm in length, before rolling into a swiss roll.

Before going into the oven

My dense bread


I tried making another loaf a few days later, this time round, the loaf came out to be a lot better. It  was soft and fluffy. However, I could not control the baking temperature well. The top burned pretty fast, and I lowered the temperature to 170 degrees. More and trial and error the next time.

Second attempt

Soft bread

Nice cottony texture


Monday, October 25, 2010

Chocolate Chip Sweet Bun using Water-Roux Method

I decided to try this recipe after reading the post from Honey Bee Sweet. It requires the Water-Roux  method described in Corner Cafe.

I wanted to use my mixer to knead the dough only, but towards the last part, I gave in to using hands to knead. I wanted to use the mixer to make my life easier. However, I read that most bread bakers always emphasized that it is important to feel the dough by hand kneading. So, I ended out taking the dough out,  throwing and stretching for about 5 mins. trying out the kneading method illustrated by Richard Bertinet in his video. It was quite an enjoyable experience slamming the dough on the countertop. It's a really good way to relieve stress.

I managed to get the window pane, but it was a small one before it got torn.

The dough was sticky after proofing, which made shaping difficult. I am not sure if I should have kneaded the dough longer before proofing it.

However, the end product was really tasty. I brought some home for my mother to try, she liked it a lot. It's soft and fluffy, plus the chocolate really made the bun very fragrant.

I still do not understand what HBS meant by rolling the dough into a swiss roll during shaping and I found it difficult to add the chocolate chips into the dough. Need to find out more tips before my next attempt.

Water-Roux warmed to 65 degrees celsius
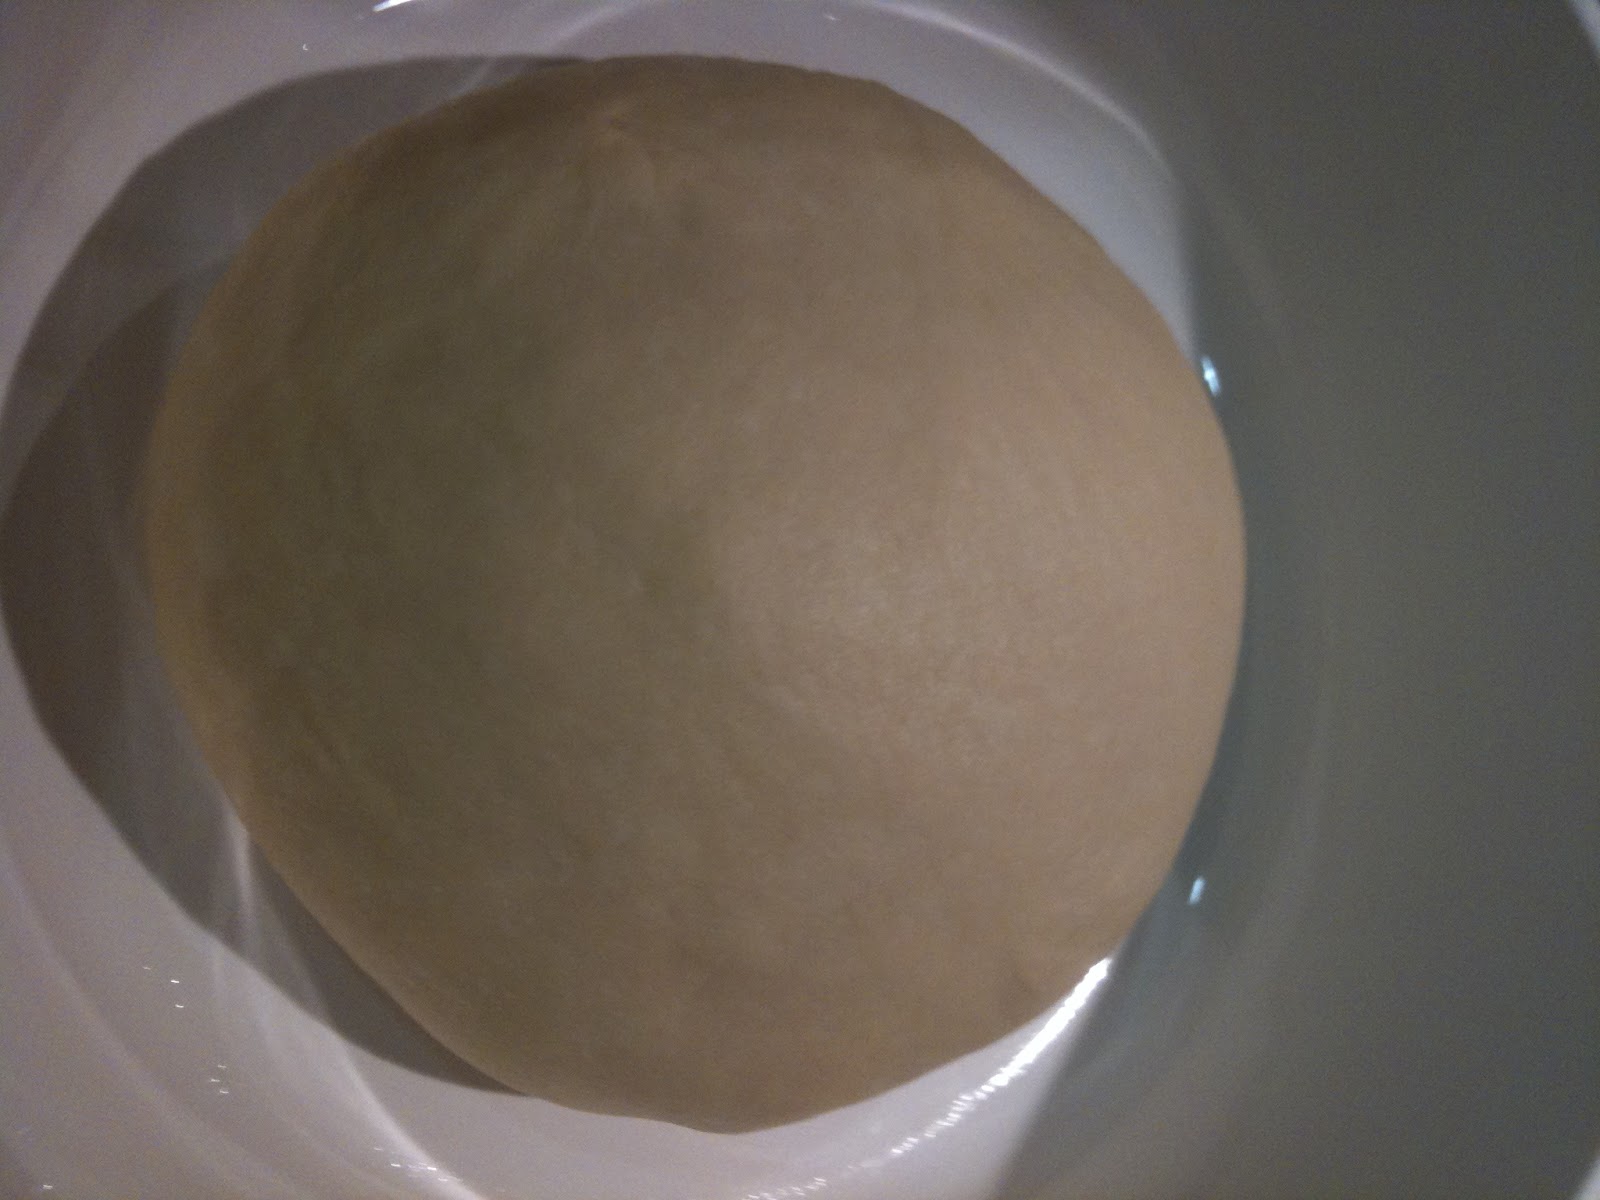
Chocolate Dough before proofing.
Rolling into oval shape to add the chocolate chips.

Before sending these buns into the oven
Irregular bun shape
First Bun for myself!
I kept about 4 buns for myself to eat. I wanted to eat one each day and see how the taste and softness of the buns change each day. I definitely want to make this again for my family to eat. :)

I

Tuesday, October 12, 2010

Third Attempt Making Basic Sweet Bun (Using Water-Roux this time)


I have tried to make a sweet dough bun on two other occasions. But on both occasions, the buns didn't turn out to be those soft and fluffy type. 

I did some searching on internet and found cornercafe which talked about this method called water roux. I tried his recipe, and my buns turned out to be very soft and delicious. 

I still do not know why my first two attempts failed me, the bread was very dense. The picture above shows the bun made from my second attempt. It was hard and dense. It looks more like a Baguette.

The pictures below are shots taken during my third attempt. 


It certainly taste very good. I would need to make a few more times before I move into putting fillings such as red bean paste into it. Yeah!! :)

Monday, September 13, 2010

Watermelon Granita + Ginger Syrup

I want to thank Little Teochew for sharing the link to Trissalicious, for the recipe from Neil Perry's Spice Temple.

I really like it a lot. It is really a thirst quencher on a hot and sunny day.

Watermelon is considered a 'cooling' food and ginger is regarded as 'warm'. It seems to be a very yin-yang balanced food stuff. So i guess, we can eat all the time.

My Refreshing Watermelon Granita

Friday, September 10, 2010

Garlic Butter Prawn

I asked my mum recently if there is a easy way to cook delicious prawn. She told me that just using salt, pepper and garlic will produce very savory pan-fry prawns. Something similar to what people normally do in a BBQ.

I decided to add an extra ingredient today. BUTTER!

Savoury Butter Garlic Prawns 


Recipe:

1) 6 Prawns ( I still do not know how to identify the different types.)
2) Salt
3) 4 cloves of garlic, chopped.
4) Thumb size of butter.

The first step: Clean the prawns. Trimmed away the sharp antenna on the prawn head, and pull out the legs. Take a knife and slice a small opening near the tail, insert a toothpick and try to dig out all the disgusting veins or prawn poo. I am still having difficulty removing the veins with the shell intact.

Second step:  The "exfoliation phase" with salt. Rinse with water.

Third step: Pat dry the prawn with kitchen towel before sprinkling a dash of salt on the prawns and black pepper  on both sides.

Fourth step: Cooking Time! Put the butter in the no-stick wok before firing it up. Once the pan is hot, add the chopped garlic in to stir-fry till fragrant. Add in the prawns. Stir fry the prawns on both sides till a little charred.

Fifth Step: Serve! Enjoy it with Beer! :)